
")
I am a beginner for ClickDimensions related work. Recently at a client, I was asked for a web form design and its integration with their website; that’s when I started using ClickDimesnions. Following post will take you through, configuration & set up of ClickDimensions along with some tweaks in MS CRM:
Products Used: MS CRM 2016 & ClickDimensions
Features & Licensing: http://clickdimensions.com/pricing
Request a trial solution: If you are a ClickDimensions Partner, you can request for a trial of 30 days- http://clickdimensions.com/partners/partner-demo
Once you fill in details for your demo account on the URL specified above, you will receive an email for ‘registration’. Registration includes more details on your MS CRM organization like:
- Date Centre Location
- MS CRM Version
- Organization URL
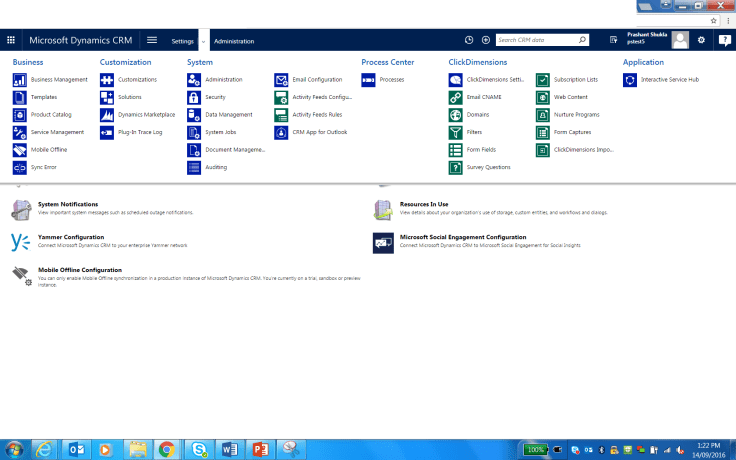
- Organization Unique ID (Can be found under settings>>Customizations>>Developer resources)
- Login ID

Image Source: www.clickdimensions.com
You will receive an email to download the managed solution, shortly after you complete the registration form. Once you download the solution, it can be imported in your MS CRM organization.
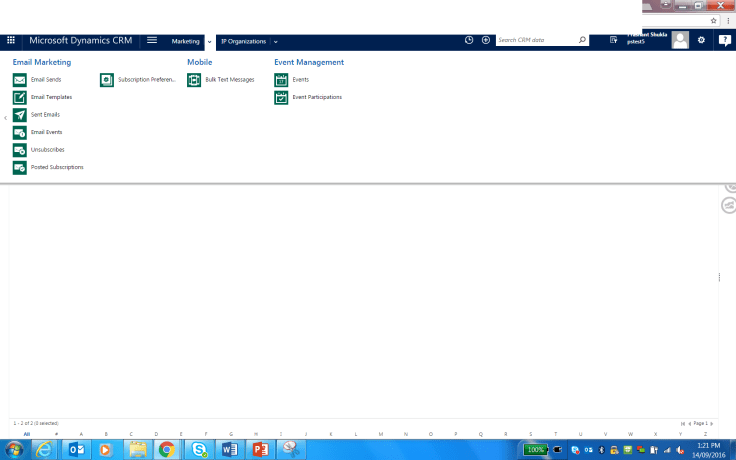
Once the solution import is successful, refresh your CRM organization and you will be able to see the new entities & features.

Objective: To create a web form, integrate it to the website and MS CRM. On submission of form, a ‘Case’ must be created in MS CRM.
Limitation: ClickDimension lets you create either lead or contact (based on your selection in CRM) but not cases
Tip: Create all custom fields and identify all standard fields which you would be using for your web form, before getting into ClickDimensions configuration
Configuration
Following are the key steps to be followed for my ‘objective’ to get an output:
Create Domain: Click on Settings>>ClickDimensions>>Domain>>New
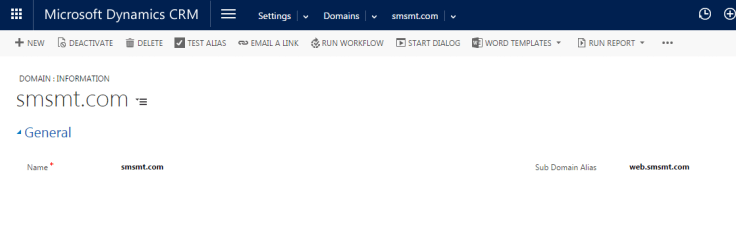
Domain: ‘Name’ field on the form, is the place where you will enter ‘domain’ of your website. It must be without http and www.
Sub Domain Alias: This is not a mandatory field. If you don’t want to enter this, your web form URL will include clickdimensions domain details and not your website’s like http://au-clickdimensions.com/smsmtcom-ae3mt/pages/oa0cnh1eeaa58q0a8uyoa.html While if you provide sub domain, your URL will include your subdomain like http://web.smsmt.com/smsmtcom-ae3mt/pages/oa0cnh1eeaa58q0a8uyoa.html
You can test your ‘sub domain alias’ by clicking on ‘Alias’ button
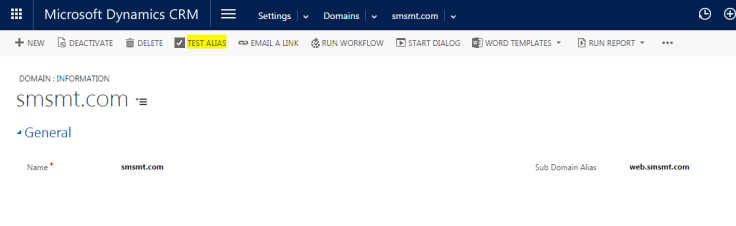
If you see the following screen, that means you are on track:
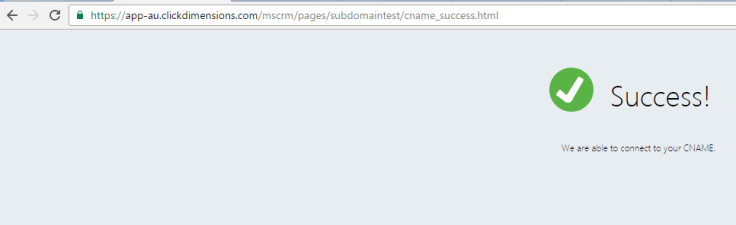
If you do not have a sub domain alias yet and would like to set it up, go to http://help.clickdimensions.com/setup-cnames/
Create Form Fields: This is different from what you have done for your CRM entities. This is entirely about the web form we want to place on our website. Go to settings>>ClickDimensions>>Form Fields>>New
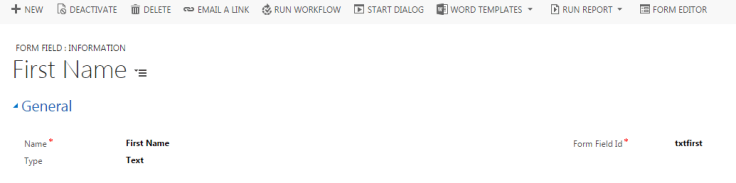
Enter a name for your field, select a field type and type ‘Form Field ID’
Following are the types of Form Fields:
- Text (Single Line of Text)
- Check Box
- Date
- Date & Time
- Decimal
- Hidden (To know more visit http://blog.clickdimensions.com/2013/09/making-the-most-of-the-clickdimensions-hidden-field.html )
- Integer
- List (Drop down/ Pick list)
- Money (Currency)
- Radio button
- Text Area (Multiple Lines of Text)
- URL (Website)
It is really important to have at least one email field on your web form. This would avoid duplication because email id is checked against all MS CRM Leads & Contacts, after submission. If the email id already exists in CRM, data is updated against existing record while if email id does not exists in MS CRM, a new record is created.
Form Field ID: Enter any unique text here, if you are going to use standard form builder (current scenario) but if you have to integrate your forms with a form capture visit http://help.clickdimensions.com/steps-to-check-before-using-form-capture-records/
Once you click on ‘save’, mapping will be enabled on the form, so, that you can map it to lead or contact field or both
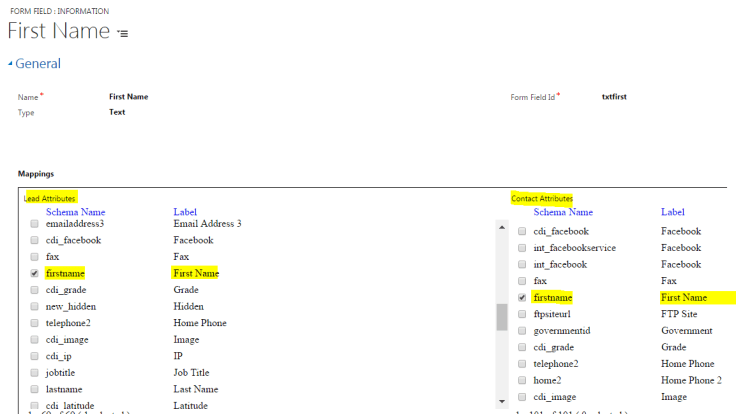
Tricks on Form Fields: You might not immediately see your custom fields under ‘mappings’, you can overcome this issue by changing your field type to ‘list’ and then click on ‘publish custom fields’ under mappings. This will bring all your custom fields under mappings. Once done, you can change ‘field type’ back to its previous state (Text in current scenario)

Read more about Field Mappings here http://help.clickdimensions.com/create-individual-form-fields/
In Part 2, we will learn about creating web content and Posted forms
Hope you find this post useful!
Drop your questions & suggestions in the comment box below.
Thank you for reading!
Happy CRMing!!


Leave a comment