
Hello Readers,
We all know, how important mobile communication is for any Sales Team Member specially a field sales person. Following are few articles relevant to the importance of mobile technology for any sales team:
7 Ways You Can Help Your Sales Team Be More Effective
The Importance of Up-To-Date Information for Salespeople
Almost, all my clients have asked for a mobile app/solutions to access MS CRM. Mobile app for MS CRM was first released with MS CRM 2013 version. Since then, there has been so many great improvements in the app.
When proposing MS CRM Mobile App to a client, most of us, must have got stuck with following obstacles:
- Offline Feature
- Dashboards
And then we were left with No choice but to propose a paid solution like Resco Mobile, CWR etc.; which adds up to the cost of any project.
Great News! Both the above features are now available for MS CRM Mobile app with the release of MS CRM 2016 Update 1. And the most important thing is, it’s free.
In this post, we will have a look on the following:
- Configuring Mobile App
- Downloading the app
- Configuring forms
- Configuring Dashboards
- Enabling Offline Feature
- Navigation
- Creating a new record
- Search
- Mobile Themes
- Essential Security Roles
Configure Mobile App
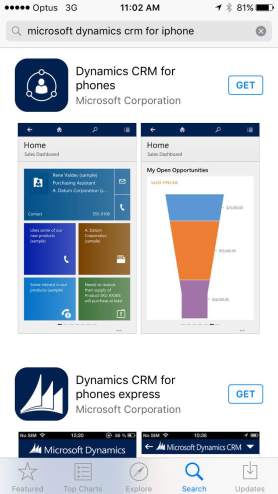
Downloading the App: Go to your App store for iPhone (for windows phone go to Windows app store and for Android phones go to Play store). Search for ‘Microsoft Dynamics CRM’; once you get the app in result, click on Get/Download.
Once downloaded, click on ‘open’ to get into the app:

To set up, enter your organization’s CRM URL. You can only use the app if you have MS CRM online or MS CRM On-Premise (IFD enabled).
Once done, click on ‘next’ and enter your CRM credentials (user name & password)
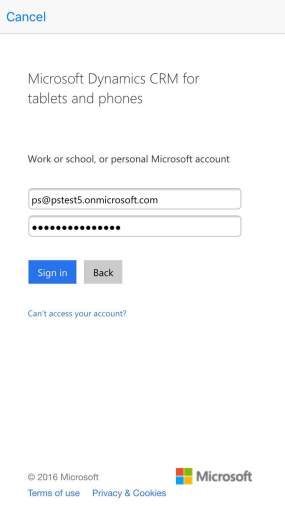
After entering correct credentials, you will be redirected to the app ‘Welcome Screen’


Finally, you will be able to see your ‘Home screen’ and can start using MS CRM Mobile app.
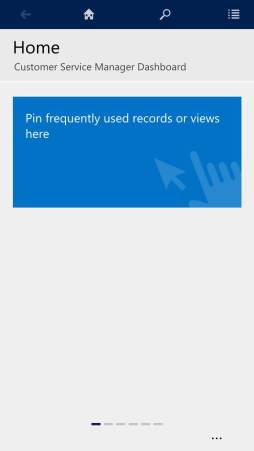
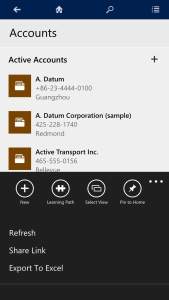
On the ‘Home screen’ you can pin your frequently visited records or view for e.g. your ‘Key Account’; which saves you from Navigating or searching for the same. The below picture depicts (Pin to home button in yellow), how to add record/view to your home screen. For more information on how to navigate to this part, please continue reading to ‘Navigation’
Configuring Mobile Forms: Go to MS CRM web application and Navigate to Settings>>Customizations
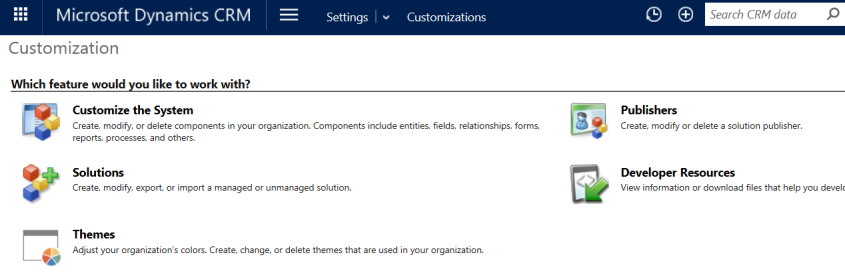
Click on customize the system>>Expand Entity and select the entity required for mobile app/form configuration:
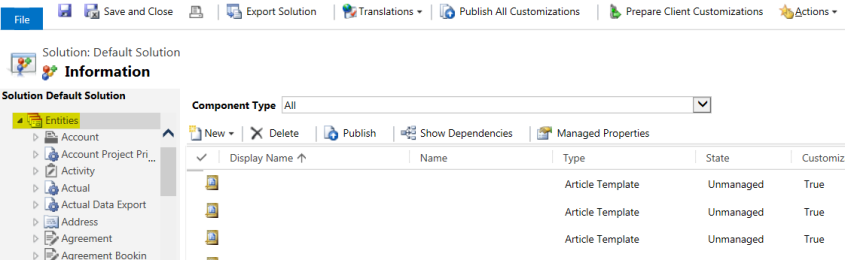
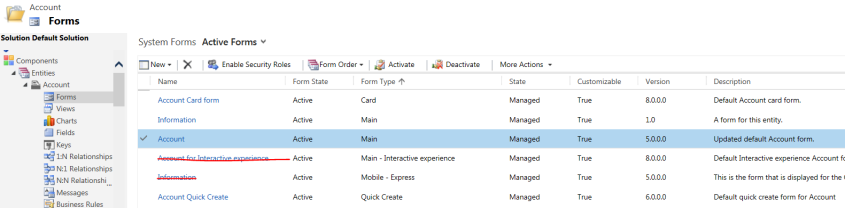
Expand the required entity>>Navigate to forms
Select the main account form, mobile express form is for purpose when we access crm via mobile browser and Interactive experience form is for Interactive service hub; which means your mobile form will include same set of fields/section what you have in MS CRM web client.
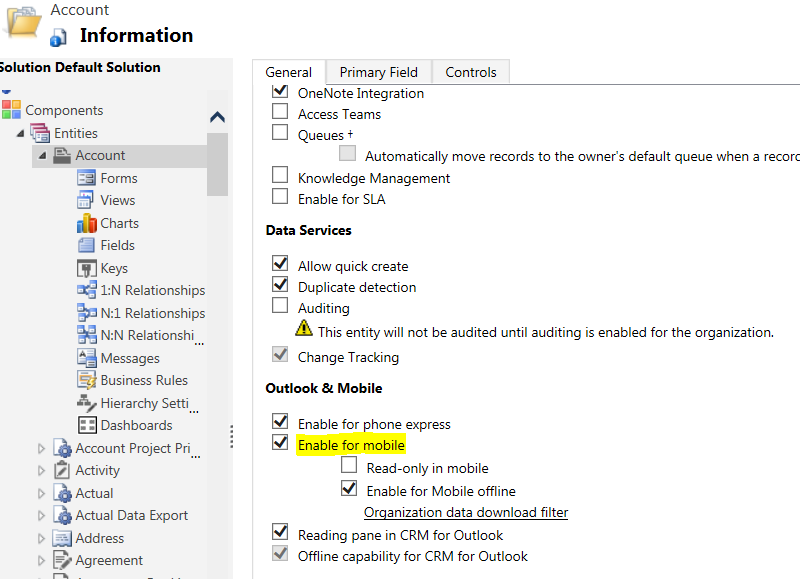
Making an entity available on mobile app is done the following way:
Navigate to settings>>Customize the system>>Click on required entity name>>Scroll down to outlook & mobile and then check mark ‘Enable for mobile’
Note: if you need the entity to be read only on mobile app, please select ‘Read only in mobile’ and if you want this entity to be available for offline feature do select ‘Enable for mobile offline’
Configuring Dashboards: Dashboard creation remains the same like we do it for web client. But to make it available for mobile app, we need to Navigate to settings>>Customize the system>>Dashboards>>Select the required dashboard>> click on properties>> Check mark-‘Enable for mobile’

Best of all is that you can preview the phone/tablet dashboard on your web client:
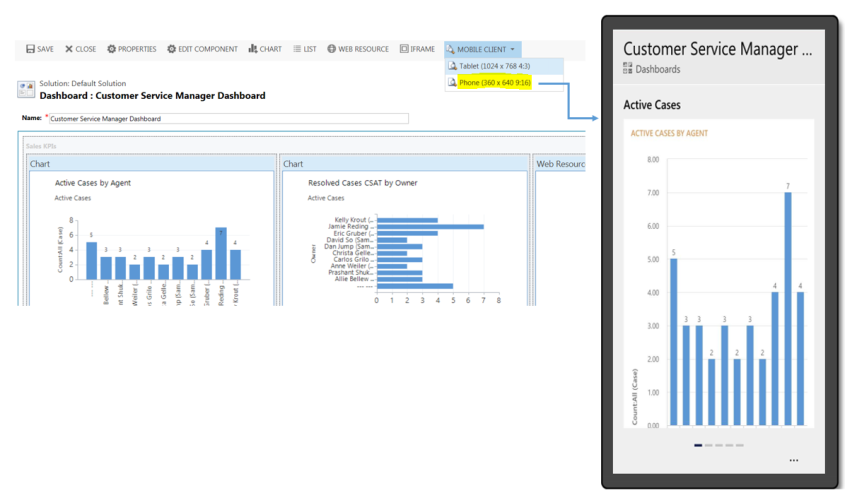
Do remember that only ‘System dashboards’ can be seen on mobile app.
Enabling Offline feature: This feature is only available for MS CRM 2016 online Update 1 or later clients. You can enable mobile offline synchronization only if you meet the following criteria:
- At least 5 Professional Microsoft Dynamics CRM Online licenses OR
- At least 1 Enterprise Microsoft Dynamics CRM Online license
For more details, please visit: https://www.microsoft.com/en-us/dynamics/crm-customer-center/enable-mobile-offline-synchronization.aspx
First step would be to enable all entities for offline sync, which is explained under last paragraph of ‘Configuring mobile forms’
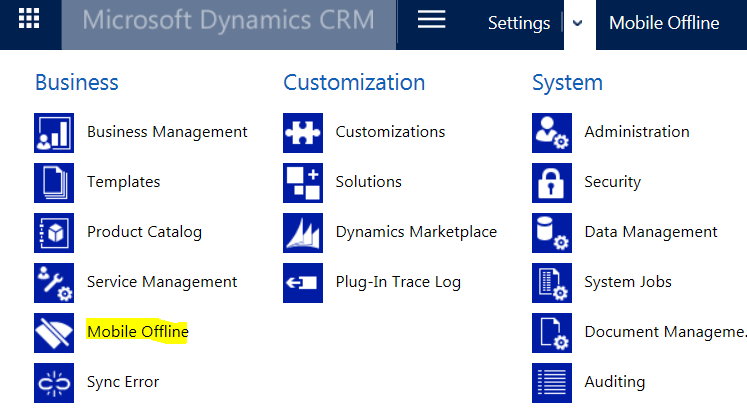
Second step would be to enable to create a ‘Mobile Offline profile’ based on your need by, navigating to settings>>Mobile offline (Under Business)>> Mobile Offline profiles
Sample profiles will be available for you to use:

You can create new or add ‘Mobile offline profile item’ here itself. Also, you will have to add users to whom you want to provide offline access. You can add a user to only one mobile offline profile.
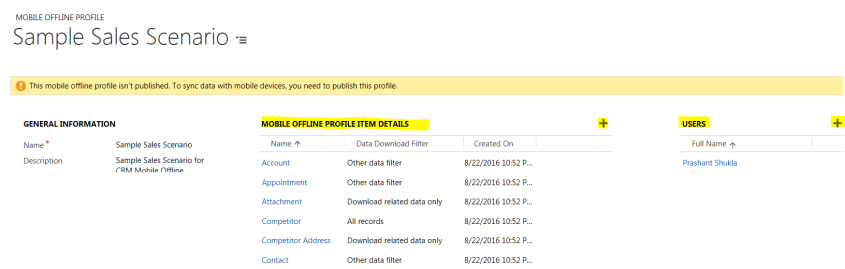
You can apply the data download filter under ‘Mobile offline profile item’
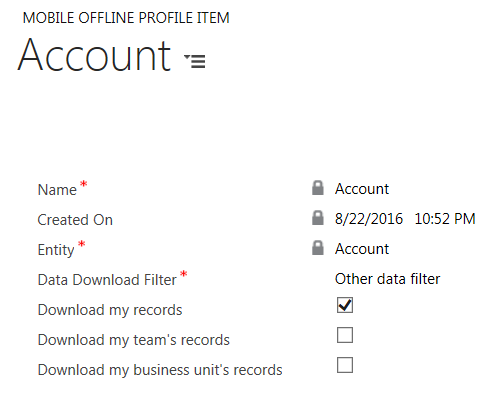
There are three categories of filter available:
- All records
- Other data filter
- Download related data only
For more details on mobile offline profile item, please visit: https://www.microsoft.com/en-us/dynamics/crm-customer-center/create-a-mobile-offline-profile.aspx
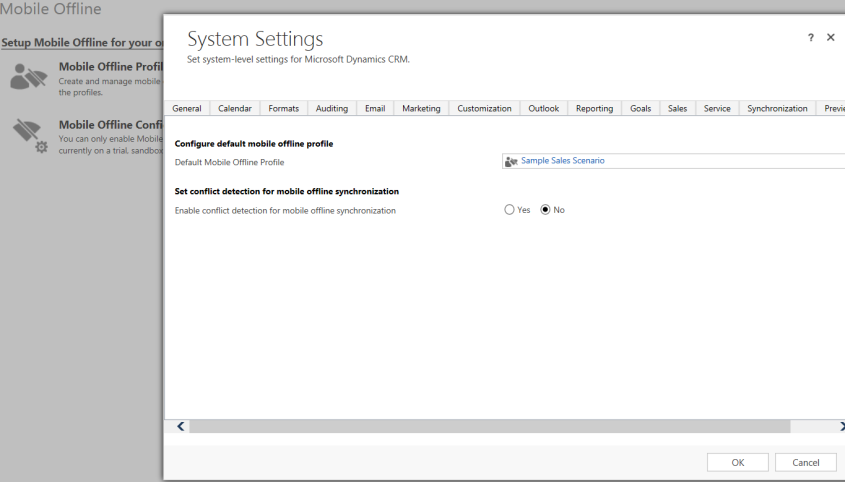
Third step would be to go to ‘Mobile offline settings’, where you can select your required profile:
Navigation
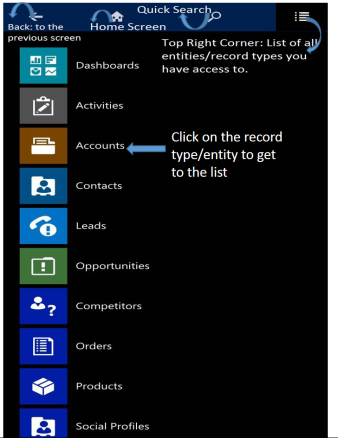
Following four major navigation items are available on the mobile app:
- Top Left corner: for list of records
- Search: to do a quick search
- Home: Takes you to the Home screen
- Back: Takes you to the previous screen
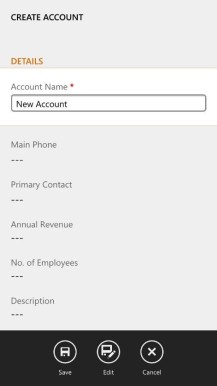
Create a new record
Click on the entity/record type name to get to the list and then click on the add (+) button:


Enter details & click on save
Search a record
Click on the ‘search’ button at the top and enter the text required for search. Search works the same way as in the web client. For more details on quick search please visit: https://prashantshuklacrm.wordpress.com/2015/02/26/adding-fields-to-quick-find-searchglobal-searchuniversal-search-result-in-ms-crm-2015/
Mobile Themes
Mobile App theme and web client theme would remain in sync. To change the mobile app theme, you will have to change web client theme and vice versa. Here’s how:
Navigate to settings>>customizations>>Themes
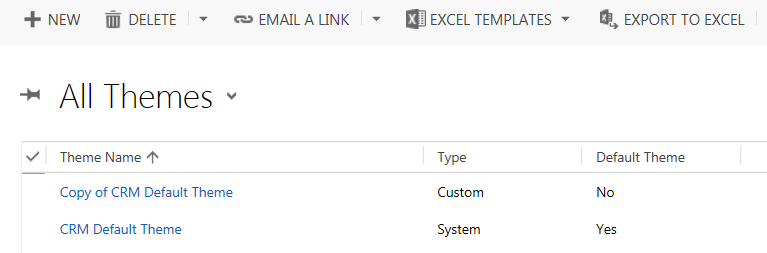
One system and multiple custom themes are allowed. You can clone the system/default theme or create new. Later you can select colors from http://www.colorpicker.com/
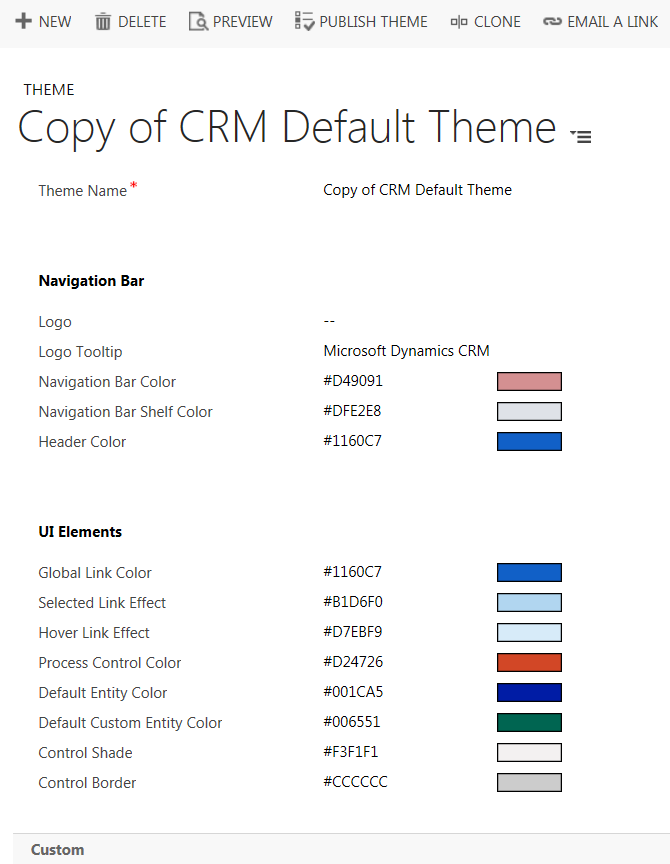
Once you have saved your theme, click on ‘Publish’ to make it available on both web client and mobile app. On web client it would be available immediately while on mobile app, it would be available the next time you open the app; it shows a pop up to download changes. If you click on ‘download’, changes would be available.
Note: Every time there is a customization published on MS CRM, mobile app will pop up a ‘download changes’ request
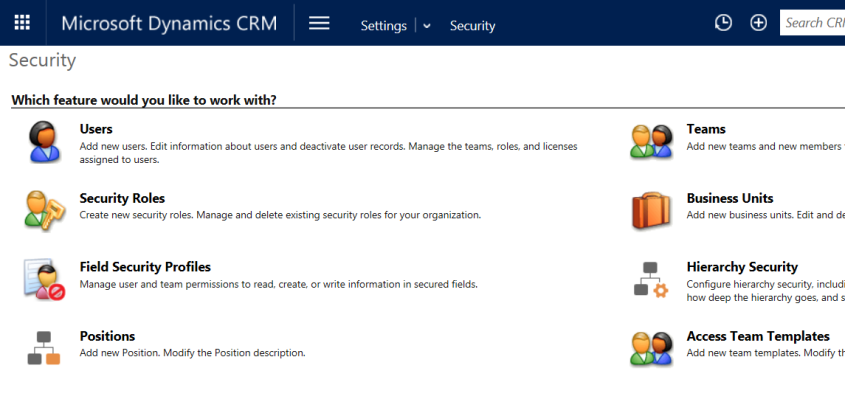
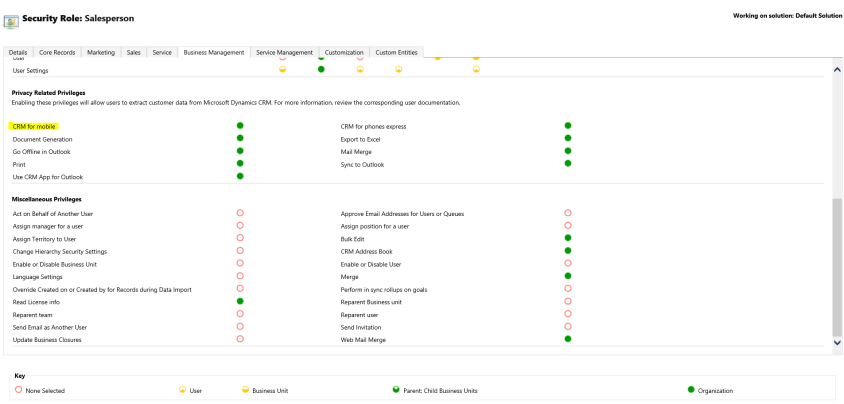
Essential Security Roles
Additional privilege is required to access the mobile app, called ‘CRM for Mobile’. Here’s how:
Go to settings>>Security>>Security Roles>>Choose a security role>>on the Business Management Tab>>Under Privacy Related Privileges>>Set ‘CRM for Mobile’ to organization level
Hope you find this post useful!
Drop your questions & suggestions in the comment box below.
Thank you for reading!
Happy CRMing!!


This app doesn’t have map integrated to the accounts like resco 😦
Map feature is very helpful for field sales people.
LikeLike
How can we change Relationships order in crm mobile after opening the record?
LikeLike